I’ve been using Linux as my daily driver for over five years now, and I’ve always been curious about how Linux operates as a server and what exactly a server entails. However, I never had the resources or the know-how to build my own server — until I got a shiny new laptop!
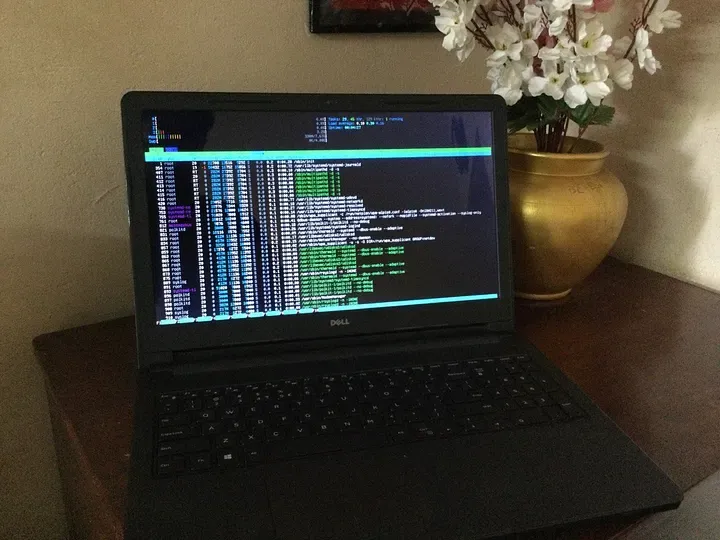 The server in all its glory
Table of contents
Open Table of contents
My Old Laptop
Meet my trusty old laptop:
- Model: Dell Inspiron 15
- RAM: 8 GB
- Processor: Intel Pentium Quad-Core
- 128 GB SSD and a 500 GB HDD
This old beast was basically gathering dust, so I saw it as the perfect opportunity to transform it into my very own home server. Here are the steps I followed to breathe new life into this ancient piece of tech.
Installing Ubuntu Server LTS
First things first, I grabbed the latest LTS release of Ubuntu Server ISO from here. I loaded it onto Ventoy and booted up my laptop. The installation process is pretty straightforward. However, based on multiple sources online, I suggest not using Logical Volume Management (LVM) during disk partitioning. Also, I opted out of using Ubuntu Server Pro because I installed a bunch of extra packages that I would most definitely never use. 🤷♂️
OpenSSH
OpenSSH is your best friend when it comes to logging into your server remotely. If you didn’t select it during the Ubuntu installation, you’ll need to install it manually.
ssh username@ip_address_of_server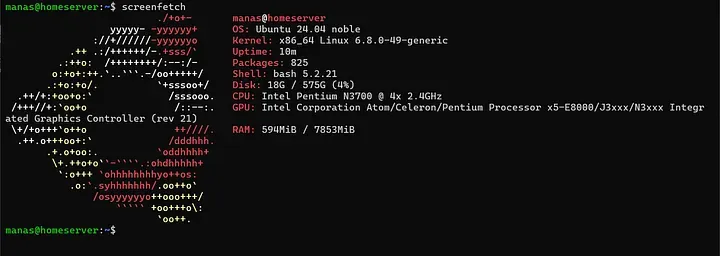 After the installation and login via SSH
SMB File Sharing Using Samba
I wanted to use this server as network storage, so setting up an SMB server was a must! Here’s how I did it:
- Installing Samba
sudo apt install samba-
Once that’s done, we need a directory
/media/shareto store the files we’ll be sharing on the network. This setup can be quite involved, so I recommend following this guide from KalOS here.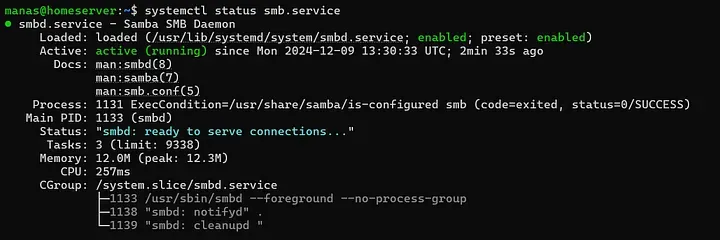 Samba service running
 -
I had a secondary 500GB hard drive on my laptop which I formatted to ext4 using this guide on Partitioning and Formatting Disks.
 Attaching the network storage on my windows pc
Disabling the Suspend on Lid Close Feature
Typically, when you close your laptop lid, it suspends the session and logs you out — super handy unless you’re trying to use your laptop as a server! Keeping the lid open takes up more space and consumes more power (thanks for the added electricity bill!). Luckily, there’s a simple fix:
- Edit the
logind.conffile:
sudo nano /etc/systemd/logind.conf-
Change the values of
HandleSuspendKey,HandleLidSwitch,HandleLidSwitchExternalPower, andHandleLidSwitchDockedfromsuspendtoignore.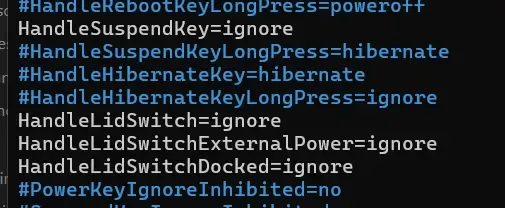 logind.conf
 -
Restart the logind service:
sudo systemctl restart systemd-logind
Jellyfin Media Server 🎥
Jellyfin is a free and open-source media server designed to organize, manage, and stream digital media files across various devices. It allows users to host their own (legally acquired 😉) media libraries and access them remotely without any subscription fees or third-party dependencies. There are plenty of guides online on how to set up Jellyfin on your home server.
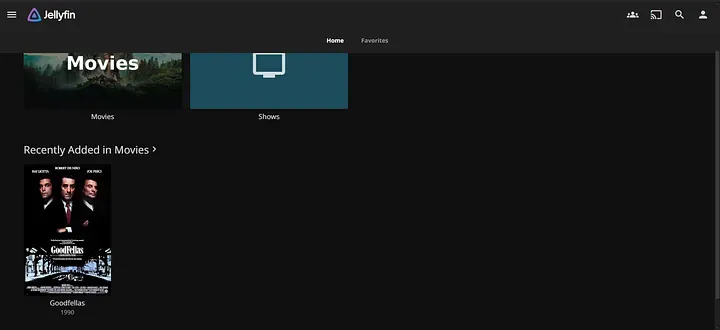 Jellyfin UI
And voilà! With all that set up, I now have my nifty little home server! 🎉 I’m also planning to set up WireGuard VPN on it and set up port forwarding so that I can access my server from anywhere in the world, but that’s a story for another day!
So there you have it — a little adventure in turning an old laptop into something useful! If you have any questions or want to share your own experiences, feel free to drop a comment below! 😄